When it comes to upgrading a bathroom in the Boston area, bathroom tile installation Boston professionals know that tile offers a winning combination of durability, water resistance, and timeless style. Whether you’re remodeling a historic South End brownstone or a modern condo in Cambridge, the right tile can transform the space while standing up to the region’s moisture‑rich climate and older building structures.
Why Tile Is a Smart Choice for Boston Bathrooms
Boston’s housing stock includes many historic homes built before modern building codes were established. Tile provides a waterproof surface that protects subfloors and wall cavities from the inevitable humidity that comes with New England winters and summer storms. Porcelain, ceramic, and natural stone tiles each bring distinct benefits: porcelain resists stains and scratches, ceramic offers a wide array of colors, and stone adds a luxurious, spa‑like feel. For homeowners in Middlesex, Norfolk, and Greater Boston, tile can increase property value and give bathrooms the polished look that buyers expect.
Common Challenges in Boston Tile Installation
Installing tile in the Boston area isn’t without its hurdles. Older homes often have uneven plaster walls, and the subfloor may be made of wooden boards rather than the solid concrete slabs found in newer construction. Proper substrate preparation is essential; any flex in the floor can lead to cracked grout or loose tiles over time. Ventilation is another critical factor—Boston winters can cause condensation to build up, especially in bathrooms without functional exhaust fans. Ensuring adequate ventilation protects both the tile and the underlying structure from moisture damage.
Additionally, many Boston neighborhoods are subject to historic preservation guidelines that may affect the scope of your remodel. It’s important to work with a contractor who understands local codes and can navigate any restrictions on structural changes or exterior appearances.
Key Steps in a Professional Tile Installation
A successful tile project follows a systematic process that ensures longevity and visual appeal:
- Assessment and planning: Evaluate existing substrate, moisture levels, and layout constraints. Decide on tile type, size, and pattern that complement the bathroom’s architecture.
- Substrate preparation: Install cement backer board or a waterproof membrane over wood floors to create a stable, water‑resistant base.
- Waterproofing: Apply liquid waterproofing or sheet membrane to all wet areas, especially around walk‑in showers and tub‑to‑shower conversions.
- Layout and leveling: Mark a reference line, dry‑fit tiles, and adjust for any necessary cuts around fixtures, windows, or built‑in shelving.
- Installation: Spread thin‑set mortar evenly, place tiles with consistent spacing, and use leveling systems to avoid lippage.
- Grouting and sealing: After mortar cures, apply grout, then seal stone tiles to protect against staining.
- Final inspection: Check for uniformity, proper sealing, and functional ventilation.
Following these steps reduces the risk of future repairs and ensures that the installation meets Boston’s building standards.
Design Options for Boston Bathrooms
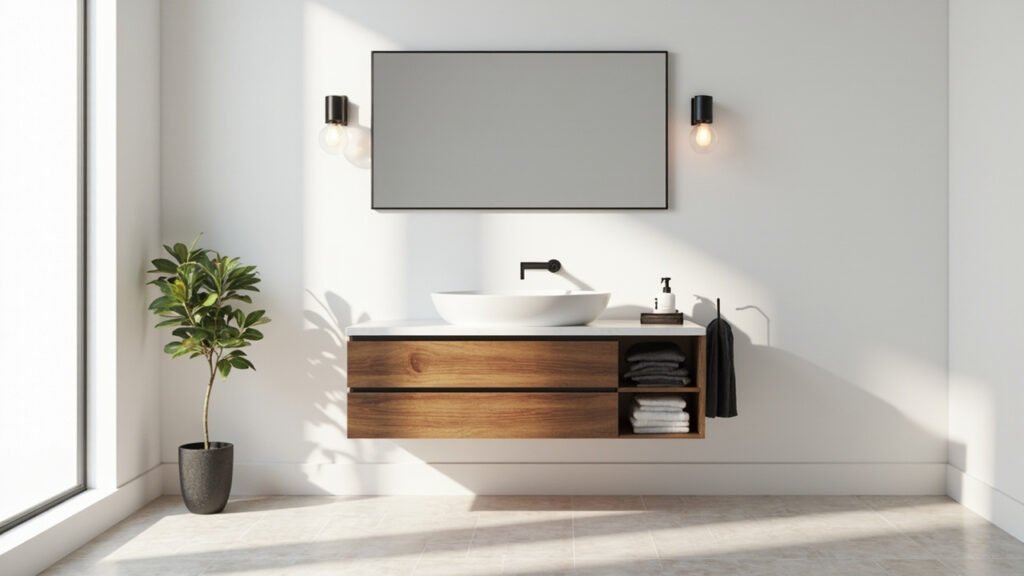
Tile offers limitless design possibilities that can suit any aesthetic. For walk‑in showers, large‑format porcelain panels create a sleek, seamless look, while mosaic tiles can add visual interest to niches and benches. If you’re considering a tub‑to‑shower conversion, a custom tile layout can incorporate built‑in shelving and anti‑slip surfaces for safety. In powder rooms, decorative subway tiles or patterned encaustic tiles can become a focal point without overwhelming the small space.
Custom tile work also allows you to coordinate with other bathroom elements, such as vanities and lighting fixtures, creating a cohesive design narrative that reflects your personal style.
Maintaining Your Tile in a Boston Climate
Even the highest‑quality tile requires routine care, especially in Boston’s variable climate. Keep an eye on grout lines and re‑seal stone tiles annually to prevent moisture infiltration. Install or upgrade an exhaust fan that vents directly outside, not into an attic, to control humidity levels. In older homes with limited insulation, adding a dehumidifier during the winter months can further protect your tile investment.
When selecting grout, consider that light‑colored grout can show mildew faster, while darker grout may hide stains but can fade over time. Choosing a grout with anti‑microbial additives can also help keep the bathroom fresh and reduce the need for harsh cleaners. Regular cleaning with a pH‑neutral cleaner will preserve the finish of both glazed and unglazed tiles, ensuring that your bathroom stays looking new for years to come.
Beyond cleaning, monitor the condition of caulking around the shower and tub areas. Boston’s temperature swings can cause caulk to crack, allowing water to seep behind the tile. Re‑caulking as soon as you notice gaps will prevent costly water‑damage repairs and preserve the integrity of your tile installation.
Finally, schedule periodic inspections with a local tile professional who understands the specific challenges of Boston’s older housing stock. Early detection of any subfloor movement or membrane wear can save you significant expense and keep your bathroom safe and beautiful.
Ready to plan? Visit our bathroom remodeling page for Free, no-obligation estimate
When planning your bathroom tile installation boston, focus on clear scope, proper waterproofing, and smart layout choices.