
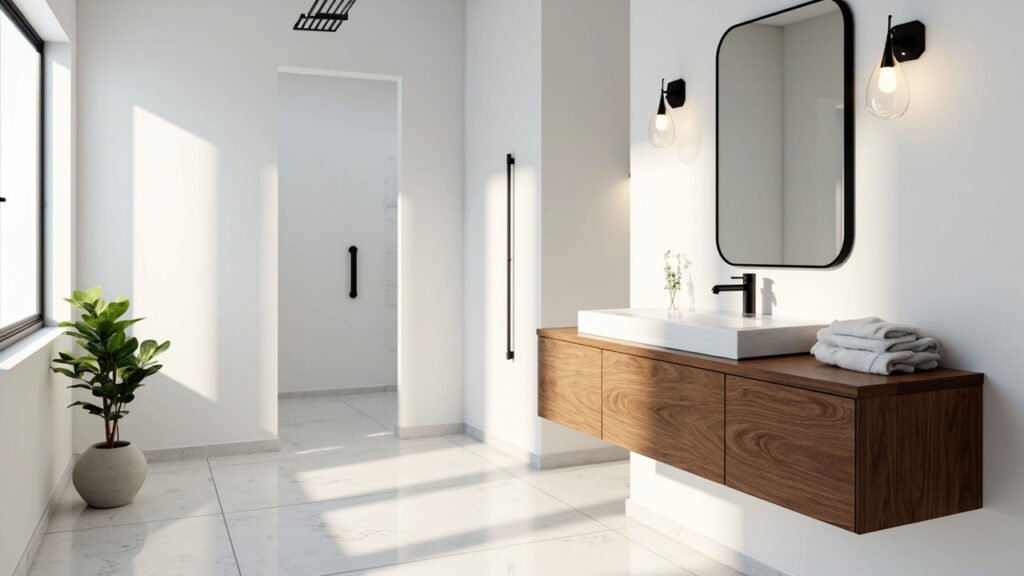
When you’re planning a bathroom remodel in Greater Boston, one of the most impactful upgrades you can make is new tile. From classic subway layouts in a Back Bay brownstone to sleek large-format porcelain in a modern condo, bathroom tile installation Boston professionals understand the unique demands of local architecture, climate, and building codes.
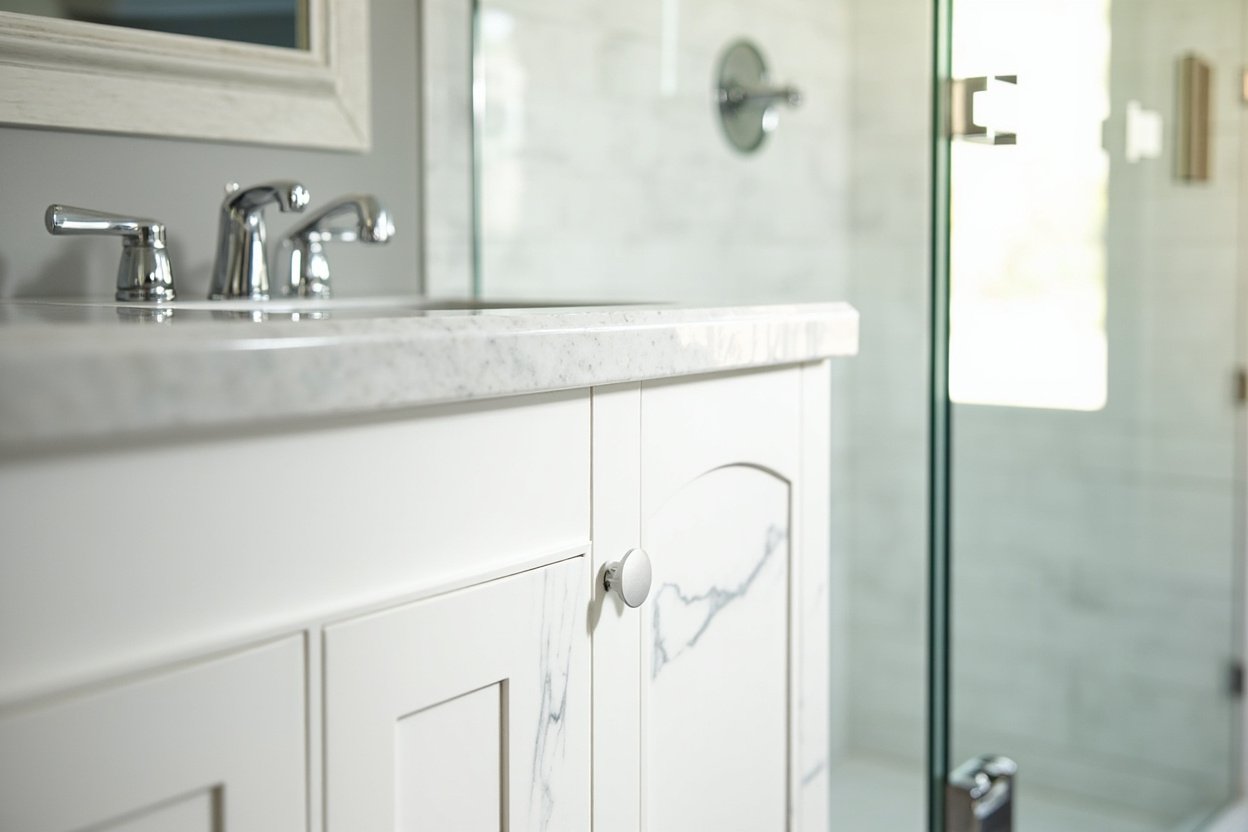
Why Boston’s Older Homes Require Special Tile Planning
Boston’s historic housing stock—particularly in neighborhoods like South End, Beacon Hill, and Cambridge—often features older subfloors, non‑standard wall dimensions, and limited ventilation. These factors mean that a one‑size‑fits‑all approach rarely works. Our team starts every project with a thorough assessment of the existing structure, checking for waterproofing integrity, levelness of the subfloor, and any hidden moisture issues that could compromise a new tile installation.
- Inspecting and reinforcing subfloors in pre‑war buildings
- Addressing ventilation concerns common in older homes
- Ensuring proper slope for walk‑in showers to prevent water pooling
- Matching tile patterns to non‑rectangular wall layouts
Choosing the Right Tile Materials for Boston’s Climate
Boston experiences a wide range of humidity levels, from sticky summer months to dry winter heating. This variation can affect tile performance if the wrong material is selected. Porcelain and ceramic remain the most popular choices because they resist moisture absorption and hold up well under temperature swings. For a touch of luxury, natural stone—such as marble or slate—can add elegance, but it requires additional sealing and maintenance to prevent staining in high‑traffic bathrooms.
When you work with Bath Design Boston, we guide you through the pros and cons of each material, helping you balance aesthetics, durability, and budget. Here are a few factors we consider:
- Water absorption rate of the tile
- Slip‑resistance rating for shower floors
- Compatibility with radiant floor heating systems
- Maintenance needs for stone versus man‑made tiles
The Step‑by‑Step Installation Process You Can Expect
Understanding what happens during a bathroom tile installation helps you feel confident and prepared. While every project is tailored to the home’s specific conditions, the core phases remain consistent:
- Design consultation: We discuss layout options, tile selection, and any structural adjustments needed.
- Preparation: Existing finishes are removed, subfloors are leveled, and any necessary plumbing moves are completed.
- Waterproofing: A high‑quality membrane is applied to walls and floors, especially in shower areas, to protect against leaks.
- Tile layout: We map out the pattern, accounting for grout lines, focal points, and any cut tiles required for corners or fixtures.
- Installation: Tiles are set with thin‑set mortar, pressed evenly, and spacers are used to maintain consistent gaps.
- Grouting and sealing: After the mortar cures, grout is applied and the surface is sealed to guard against moisture.
- Final inspection: We walk through the completed work, ensuring everything meets our quality standards and local code requirements.
Common Challenges in Boston Bathroom Tile Projects
Even with careful planning, Boston homes can present unexpected hurdles. Below are some of the most frequent issues we encounter and how we address them:
- Out‑of‑level floors: Older homes often have uneven subfloors. We use self‑leveling compounds or install a cement backer board to create a flat, stable surface.
- Limited space: Small bathrooms in city apartments require creative layout solutions, such as running tile in a diagonal pattern to visually expand the room or using larger tiles to reduce grout lines.
- Moisture intrusion: In neighborhoods with aging plumbing, hidden leaks can cause mold. Our waterproofing protocols include thorough moisture testing and the use of crack‑isolation membranes to prevent future damage.
- Historic preservation considerations: For listed properties, we work closely with homeowners to ensure any tile work respects the building’s character while meeting modern performance standards.
Maintaining Your New Tile: Tips for Boston Homeowners
Once your new bathroom tile is in place, a few simple maintenance habits will keep it looking pristine for years:
- Wipe down shower walls after each use to prevent soap scum buildup.
- Re‑seal grout lines annually, especially in high‑humidity areas.
- Use pH‑neutral cleaners to avoid damaging stone tiles.
- Check caulking around fixtures and reseal as needed to maintain a watertight barrier.
By staying proactive, you’ll protect your investment and extend the life of your tile installation.
Ready to plan? Visit our bathroom remodeling page for Free, no-obligation estimate
When planning your bathroom tile installation boston, focus on clear scope, proper waterproofing, and smart layout choices.